A Complete Guide to Testing with Mira Fertility

What Is the Mira Fertility Test?
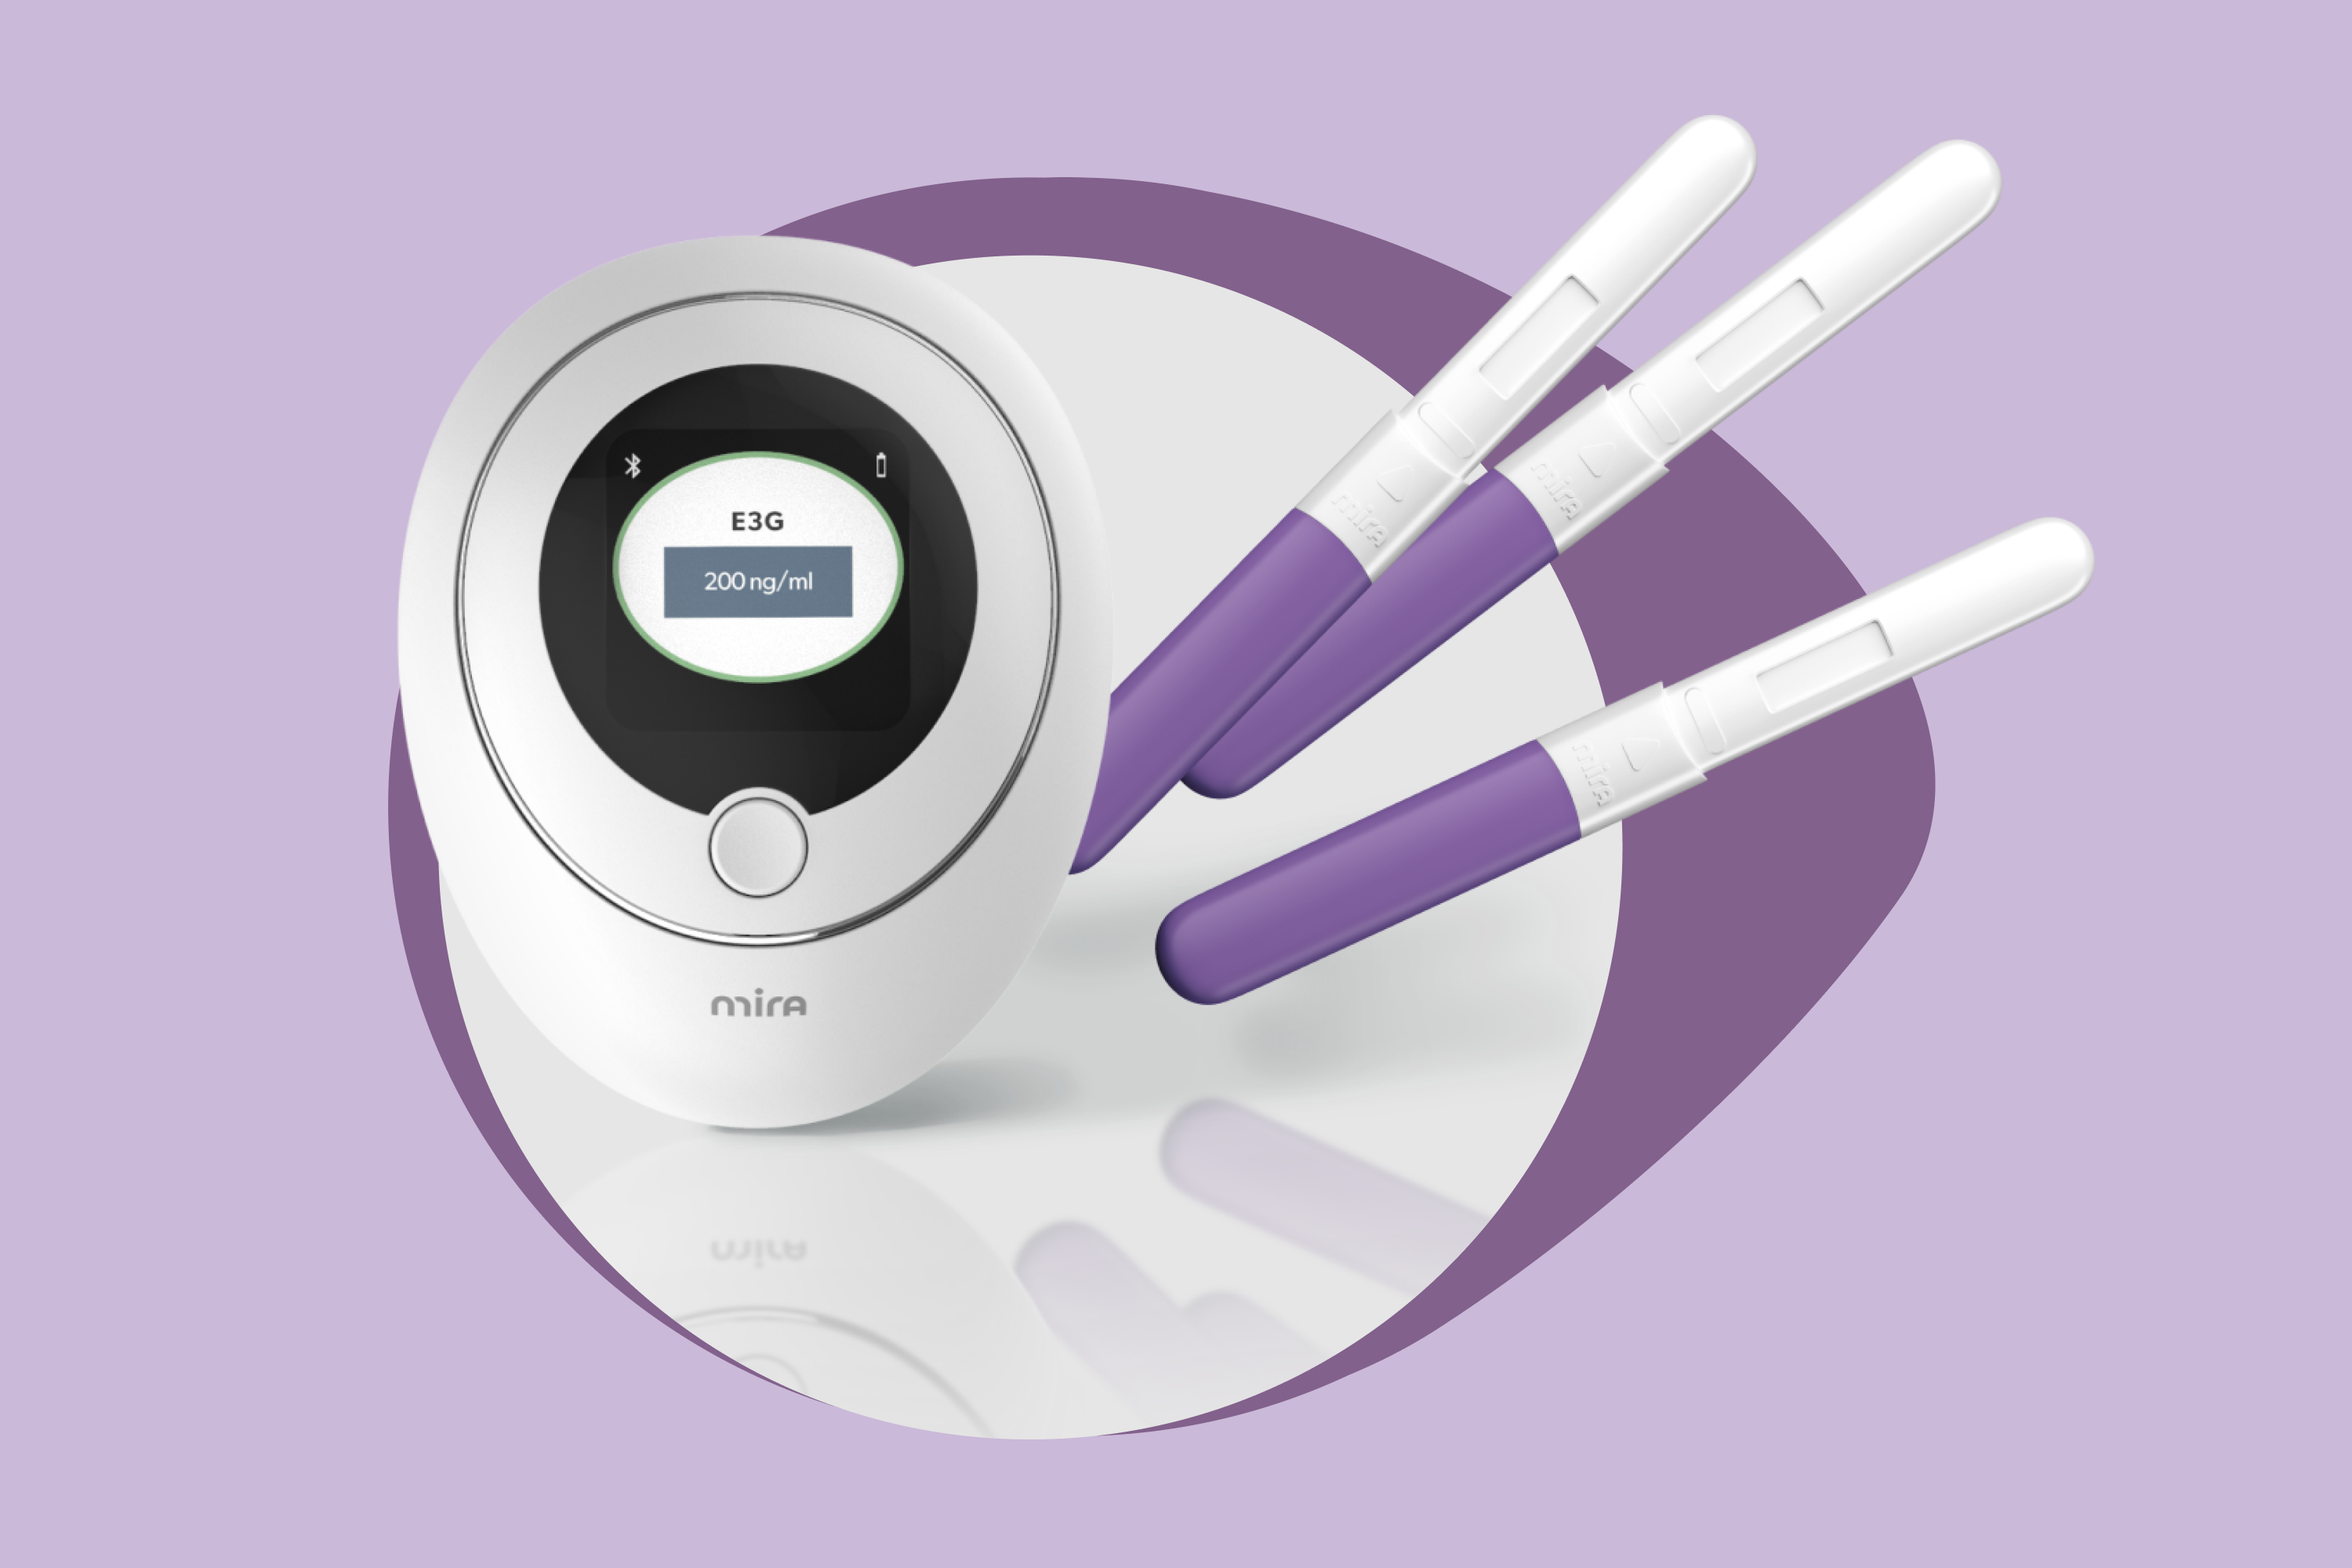
The Mira Hormone Monitor is a fertility test device that measures key fertility hormones in your urine. It tracks how these hormones change throughout your menstrual cycle to predict when you’re most likely to get pregnant accurately. Hormonal health is crucial in understanding fertility, and hormone tests for women and people with ovaries play a significant role in this process.
By analyzing your unique hormone patterns, Mira provides personalized data to help you identify your most fertile days.
To use Mira, you collect urine samples on special test wands. Different wands detect specific combinations of female hormones:
- “Mira Fertility Max Wands” predict, pinpoint, and confirm ovulation by tracking LH, E3G, and PdG;
- “Fertility Plus Wands” track LH+E3G to predict your ovulation and 6-day fertile window;
- “Mira Fertility Confirm Wands” track PdG to confirm ovulation happened;
- “Mira Ovum Wands” track FSH, hence checking your overall fertility status and how far you are from menopause.
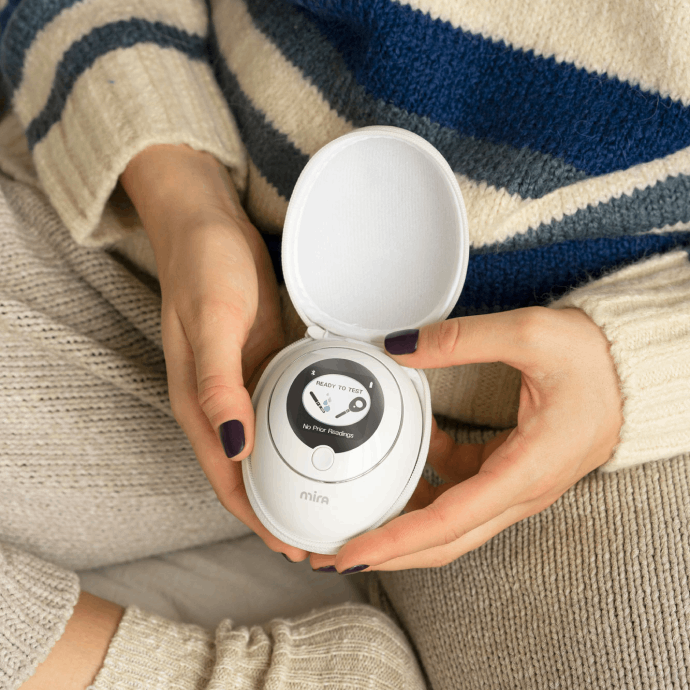
You then insert these wands into the Mira Hormone Monitor, which reads the hormone levels and sends the data to the Mira App for interpretation and insights.
How to check hormone levels effectively is key to utilizing the Mira system fully, as accurate and consistent monitoring can lead to better fertility outcomes.
When Should You Get a Test?
The Mira App uses colored dots on your calendar to tell you when it’s time to test.
Depending on how long your cycle is, you might need to test every day after your period or every 2-3 days. If your Mira hormone testing kit arrives later in your cycle, just start testing with your next one. Also, remember to get enough testing wands in advance!
For best results, it’s recommended to test with your first urine of the day. If that’s not convenient, testing later works, too, as long as you avoid drinking liquids for two hours beforehand. Too much water can dilute your results.
How Mira Fertility Testing Works
Step-by-Step Guide to Using Mira Fertility
Before you start testing with Mira, make sure you have a clean urine sample ready. Here’s how to use the test wand and get accurate results, step by step.
Collect your sample
First, collect your urine in a clean, dry cup instead of dipping the test wand directly into the toilet. The cup allows you to better control how much liquid the wand absorbs and helps you follow the next steps more precisely. Be sure to test with a fresh urine sample at the same time each day during the cycle. Use it right after collecting, as hormone levels break down rapidly. Avoid waiting, as this could affect your test results.
Dip the wand
Place the test wand into the urine sample, making sure the liquid reaches at least three of the squares but stays below the MAX line. This ensures that the right amount of urine is absorbed. Too little or too much urine can cause an error in the reading.
Wait 20 seconds
Keep the wand in the urine sample for a full 20 seconds. Removing it too early will result in an incomplete test.
Be gentle
Once you take the wand out, don’t shake it! Also, keep the end of the wand that was dipped pointing downward at all times to avoid mixing things up.
Cap it carefully
When you put the cap back on the wand, make sure to keep the sampling end (the part that was dipped) pointing down at all times, even after you sampled the urine.
Inserting the test strip upside down after dipping while trying to locate the analyzer’s insertion port can cause the urine to flow backwards, which may result in an incomplete test.
Insert the wand
Immediately insert the wand into the Mira Hormone Monitor. This is important because the test relies on fresh hormone levels in your sample.
Stay steady
Put the Analyzer on a flat surface, and don’t move or tilt it during the 16-minute countdown. Movement can interfere with the reading.
Dispose of the wand
Once the test is done, throw the wand away. Reusing a tested wand will cause the Mira Hormone Monitor to show old results or show an error, which won’t be helpful.
Interpreting Test Results
Reading your Mira Fertility test results might feel tricky at first, but once you know what to look for, it gets easier. Here’s a simple guide to help you understand the results:
- Key Hormones to Watch
- E3G – This hormone starts to rise 1-3 days before your LH (Luteinizing Hormone) peak. When you see this increase, ovulation is near—typically within 10-12 hours after the LH peak. Don’t worry if you notice some E3G fluctuations before the big peak; this is normal during the follicular phase of your cycle.
- PdG – After ovulation, PdG (Progesterone Metabolite) levels rise, confirming that ovulation has occurred. This usually happens 1-2 days after the LH peak.
- E3G – This hormone starts to rise 1-3 days before your LH (Luteinizing Hormone) peak. When you see this increase, ovulation is near—typically within 10-12 hours after the LH peak. Don’t worry if you notice some E3G fluctuations before the big peak; this is normal during the follicular phase of your cycle.
- Your Fertility Score
In the Mira app, you’ll also receive a Fertility Score—a number that tells you how fertile you are at any given point in your cycle. Here’s what those numbers mean:
- 1-4: You’re in a non-fertile window. While the chances of conception are not impossible, they’re still very low.
- 5-8: These are your fertile days, about three days before or two days after ovulation. There’s a good chance of conception if you have intercourse or fertility treatments during this time.
- 9-10: These are your most fertile days, likely within 24-36 hours of ovulation, making it the best time for conception.
- Two Tips for Reading Your Chart
Focus on trends – Don’t get too caught up in individual numbers. Mira tracks your hormones over time and shows a trend that helps you know exactly when you’re ovulating.
Hormone levels can fluctuate – Don’t worry if some numbers seem off. It’s normal for hormone levels to vary from person to person and cycle to cycle.
If you’re still uncertain or need additional support, consider visiting Mira’s Hormone Health Clinic for Fertility to get professional guidance tailored to your needs.
Syncing Results with the Mira App
To connect your Mira Analyzer with the Mira App, follow these simple steps:
Start Pairing
Open the Mira App and follow the instructions to begin pairing. Ensure your Analyzer screen is on during this process, as the first connection attempt might take a few tries.
Troubleshooting Bluetooth Issues
If you’re struggling to connect, move to a different room or an isolated space to reduce interference from other Bluetooth devices. Also, try positioning your phone closer or farther from the Analyzer until the connection succeeds.
Watch for Error Messages
Check your Analyzer for error messages during pairing. The connection may take up to 20 seconds to complete.
Device-Specific Tips
On some phones, like Samsung, turning on the “Location” setting can improve the Bluetooth signal. If you’re having trouble connecting, experiment with different distances and positions.
Reset if Necessary
If connection issues persist, try restarting both your phone and the Analyzer. You can also push the “reset” pinhole on the back of the Analyzer to reset the device.
What Hormones Does Mira Fertility Measure?
Luteinizing Hormone (LH)
LH is crucial for triggering ovulation. Mira detects a surge in LH levels, which indicates ovulation will occur within 24-36 hours. This hormone peaks mid-cycle and is key to predicting your most fertile days.
So, if you test with Mira and notice a sharp rise in LH, you can plan to try for conception in the next two days, as ovulation is about to happen.
Estrogen (E3G)
E3G is a form of estrogen that rises during the follicular phase. Mira tracks E3G levels to help predict your fertile window, as an increase in this hormone often indicates that ovulation is approaching.
Hence, when Mira detects increasing E3G levels, it’s a signal that your body is preparing for ovulation, and this is a good time to start tracking your fertile window closely.
Progesterone (PdG)
PdG is a metabolite of progesterone and confirms that ovulation has occurred. Doing this progesterone metabolite test with Mira provides insight into whether ovulation was successful, as PdG rises after ovulation during the luteal phase.
If Mira shows continuous rising levels of PdG after ovulation, it’s a sign that the ovulation process is completed, which is important to confirm for pregnancy planning.
That said, please note that urine PdG should only be used to confirm ovulation. Mira Confirm Wands are not designed, approved or cleared for monitoring early pregnancy status, miscarriage, fetal health tracking or other diagnostic uses for which a progesterone test might be an indicator.
FSH
FSH plays a key role in the growth and maturation of ovarian follicles. Mira monitors FSH levels to help understand ovarian function and assess fertility, particularly in the early stages of the menstrual cycle.
How Accurate Is Mira Fertility?
Mira Fertility can predict ovulation and estimate your most fertile days with 99% accuracy.
Tips for Getting the Most Out of Mira Fertility
- Set Up the Mira App Early: Download and set up the Mira app when you order the Starter Kit to get familiarized and receive reminders.
- Choose the Right Wands: Use specific wands (e.g., LH, E3G, PdG) depending on your fertility goals.
- Follow Instructions Closely: Insert the test wand properly, avoid shaking, and ensure the right urine volume for best results.
- Test Regularly: Mira’s smart algorithm helps optimize testing days, but typically, 10-20 wands are needed per cycle.
- Monitor Trends: Focus on hormone trends over time for the most accurate fertility predictions.
- Be Patient: Allow Mira’s AI to learn your cycle for improved accuracy.
Mira Fertility and Fertility Awareness Methods
Fertility Awareness Methods (FAM) involve tracking natural body signals to better understand your fertility.
One of the most common signs is your basal body temperature (BBT), which is the body’s lowest resting temperature, typically measured first thing in the morning. Mira makes this easy with its hormone tracking and thermometer tools, giving you more accurate insights into your cycle.

Frequently Asked Questions
What are the basic infertility evaluation fertility tests?
Basic infertility evaluations typically involve testing key fertility hormones such as Luteinizing Hormone (LH), Estrone-3-Glucuronide (E3G), Pregnanediol-3-Glucuronide (PdG), and Follicle Stimulating Hormone (FSH). These are the basic female fertility tests that help predict ovulation, confirm it, and assess overall fertility status.
Does Mira Fertility work for men?
In addition to offering fertility tests for women, Mira offers at home fertility tests for men, too.
How do you know if your hormones are off without going to the doctor?
Hormonal imbalances can cause a wide range of symptoms, including irregular periods, excessive hair growth, skin issues, low libido, unexplained weight changes, mood swings, and sleep disturbances.
On which day of my period can I do a fertility test?
It’s generally recommended to test for ovulation after your period ends, as hormone levels during the first days of menstruation are at their baseline.
Mira’s Editorial Process
All content produced by Mira meets stringent editorial standards, ensuring excellence and accuracy in language and medical precision. Every piece undergoes thorough fact-checking and review by qualified professionals. Check out our full editorial process to learn more.


